The steps
About 30 minOutline the five sections in bullets
Before opening any AI tool, write 3 to 5 bullets per section: about the role, 30/60/90 plan, must-have requirements, nice-to-haves, what you offer, and how you hire. Fifteen minutes of bullet outlining beats two hours of prose editing later.
Paste a writing sample into the AI as the tone reference
Find a piece of internal writing that captures your team's voice — a recent blog post, an internal Notion page, a previous JD that worked. Paste it into the AI prompt as the tone reference. Without a sample, the AI defaults to corporate JD voice.
Have the AI expand each section's bullets into prose
Section by section, prompt the AI: 'Expand these bullets into a paragraph that matches the tone of the writing sample above.' Do not ask it to write the JD from scratch — only to expand from your bullets. The substance stays yours; the AI handles the typing.
Manually rewrite the requirements section
This is the section AI gets wrong most consistently. It tends to over-list, mirror prior job postings, and pattern-match on resume keywords rather than on actual capability. Write this one by hand, with the rubric in mind.
Run the JD through the strong-candidate test
Read the finished JD as if you were the ideal candidate. Can you tell within 60 seconds whether this role is right for you? If not, the JD is still too vague — usually because the 30/60/90 plan is not specific enough or the requirements section is over-listed.
Publish and save as a reusable template
Once the JD is live, save it back as a reusable template in your ATS. The next similar role takes five minutes to post instead of thirty. The first JD is an investment; every subsequent JD in that role family is a copy-edit.
Job descriptions written by AI without structure read like job descriptions written by AI without structure. The fix is not a better prompt; it is a better workflow. This post is the workflow: a five-section scaffold, a bullet-first outline, the AI as an editor rather than a generator, and one test at the end. Thirty minutes per role.
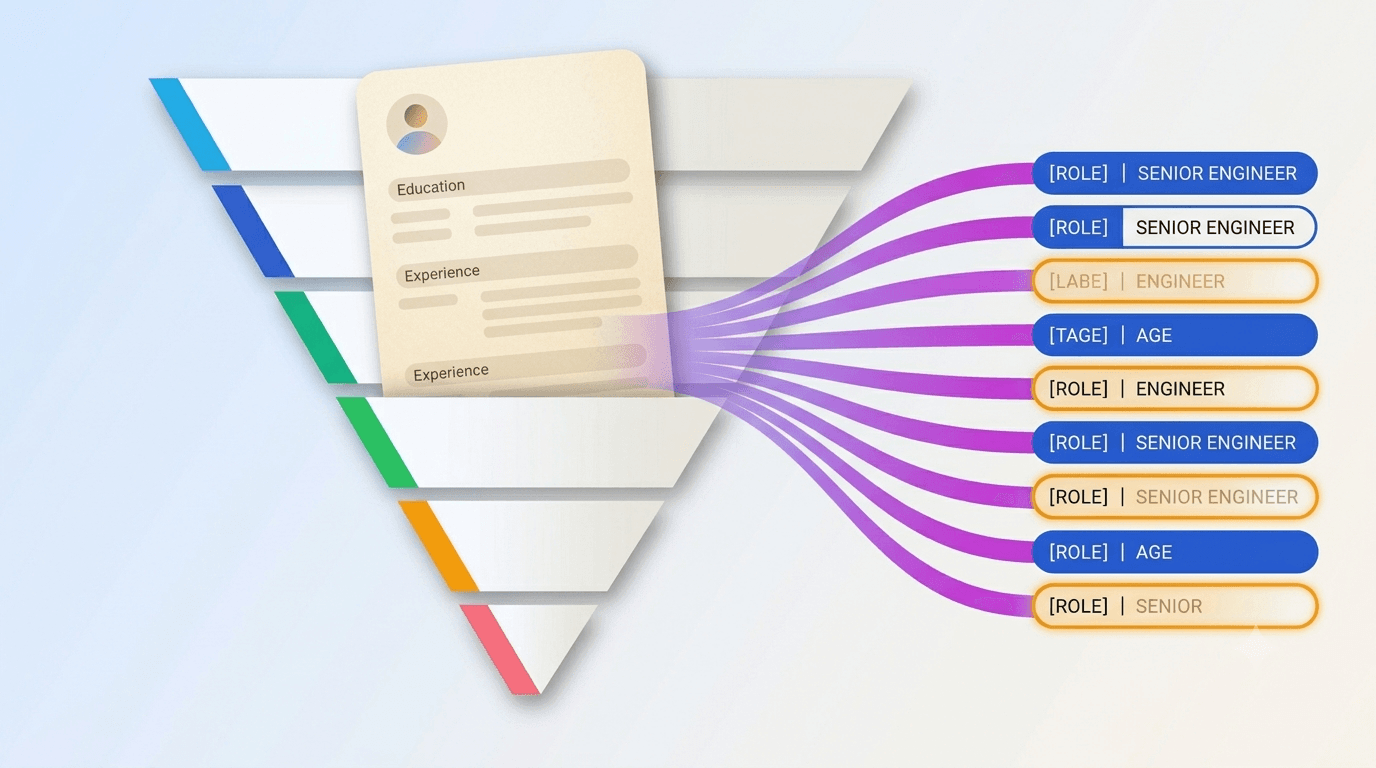
Why does AI write bad job descriptions by default?
The default failure mode is generic prose. A one-line prompt — "write a job description for a senior backend engineer at a Series A startup" — produces a JD that could be your competitor's JD. The model has read tens of thousands of job descriptions and statistically averages them. The output is grammatically clean, structurally complete, and entirely interchangeable. According to research published by the LinkedIn Economic Graph team on job-posting performance, JDs with role-specific language and concrete outcomes outperform generic JDs on both apply rate and quality of applicant — by margins large enough to dominate any tone difference.
The structural fix is to invert the workflow. AI as a generator produces generic content; AI as an editor on bullets you wrote produces content in your team's voice. The bullets carry the substance — the 90-day plan, the actual must-haves, the real comp range. The AI carries only the typing. Two hours becomes 15 minutes; the JD still sounds like your team.
TIP — The one-line prompt trap If your prompt fits in one line, your JD will too. The AI cannot infer specificity it has not been given. Every minute you spend outlining bullets before the AI sees the prompt saves five minutes of editing after.
What does the five-section JD scaffold look like?
The structure that earns the click and the application:
- About the role (~75 words). One paragraph. Why does this role exist now? What is the team this person joins, and what is the team trying to do? Avoid culture decks; describe the work.
- 30/60/90-day plan (~100 words). What ships in the first 30 days, the first 60, the first 90? This is the hardest section to write and the most predictive of a good hire. Vague plans attract vague candidates.
- Requirements (~125 words). Two lists — "must have" and "nice to have." Keep must-haves under 6 items; over-listing is the single biggest source of qualified candidates self-selecting out. Nice-to-haves can be longer.
- What we offer (~125 words). Comp range, equity, benefits, location/remote policy, and any specific perks that matter (learning budget, equipment, parental leave). The honest section. Hedging this section signals you have something to hedge.
- How we hire (~75 words). Number of rounds, who the candidate will meet, expected total time, decision timeline. Candidates respect a known process more than a fast one.
Total: around 500 words. Sections under 75 words feel insubstantial; sections over 200 lose attention.
| JD section | Who should write it | Can AI help? |
|---|---|---|
| About the role | Founder or hiring manager | Yes — bullets to prose |
| 30/60/90 plan | Hiring manager only | Lightly — phrasing only |
| Requirements | Hiring manager + rubric | No — write by hand |
| What we offer | Founder or HR-of-one | Yes — bullets to prose |
| How we hire | Hiring owner | Yes — bullets to prose |
The pattern: AI helps most where the section is descriptive prose, and least where the section is a decision. Treat that as a rule.
How should the AI prompt actually look?
A working prompt has three parts:
- The tone reference. Paste an internal writing sample. A blog post, a Notion doc, a previous JD that worked. 100 to 300 words is enough. Without this, the AI defaults to corporate JD voice.
- The bullets. The bullets for the specific section you want expanded. Do not ask for the whole JD in one prompt.
- The instruction. "Expand these bullets into a paragraph that matches the tone of the writing sample above. Do not add information that is not in the bullets. Keep the section under 100 words."
The third part — "do not add information that is not in the bullets" — is the one most teams skip. AI models will helpfully invent details if you let them. The instruction is what keeps the output grounded in the bullets you actually wrote.
Inside an ATS with built-in AI rewriting, this workflow is one click per section: write bullets in the section editor, hit "Enhance with AI," accept or reject. RecruitIn's job-post editor works this way by design — section-by-section, in your voice. See the pricing page for the AI usage limits per plan.
Should the salary range go in the JD?
Yes, and the legal and market pressure to do so is increasing. The state of California's pay-transparency law, New York's, Colorado's, and Washington's all require salary ranges on job postings under specified conditions. The European Union's Pay Transparency Directive imposes similar obligations across EU member states. UK guidance is converging on the same direction.
Even where not required, publishing the range produces a measurable benefit:
- Higher-quality applicants. Candidates self-select against ranges that do not match their target.
- Lower drop-off between application and offer. The comp conversation happens before the application, not at offer stage.
- Better employer-brand signal. Hedging the range reads as hedging the role.
The number you publish must be the number you would actually offer. Publishing a 30-percent-wider band than the team will actually pay is worse than publishing nothing.
What never to delegate to AI
Three sections, with one rule each.
The requirements list. AI tends to over-list and to pattern-match on prior similar roles. Both behaviours import bias from the model's training data into your hiring funnel. Write the requirements by hand, against the rubric. Six must-haves or fewer. Anything past six is signalling that you do not know what is essential.
The 30/60/90-day plan. AI cannot know what your team is trying to ship in Q3. The plan is the hiring brief; if you cannot write it, the role is not ready to post. Use AI to tighten the phrasing of a plan you have written; do not use AI to invent the plan.
The comp range and equity numbers. These are decisions, not text. Calibrate them against your equity grant table and the market before you write the JD. Asking AI to suggest a comp range produces a hallucination at worst and an average at best — neither is what you should publish.
"The job description is the contract you are offering the candidate before the contract you are offering the candidate. Both have to be honest."
— Collin, Founder, RecruitIn
How do you test the JD before publishing?
One test. Read the finished JD as if you were the ideal candidate. Can you answer three questions within 60 seconds?
- What will I actually be doing in the first 90 days?
- What does it pay?
- How do I get to the offer?
If you cannot answer all three, the JD is still too vague. Tighten the 30/60/90 plan, publish the comp range, name the interview process. Most JD weakness is vagueness, not bad prose — and the strong-candidate test surfaces vagueness in 60 seconds.
Closing thought
AI-written job descriptions are the kind of thing that look like a 10x productivity gain on the first try and a 0.5x productivity gain on the third. The 10x is real if the workflow is right: bullets first, AI second, manual hand-write on the sections that are decisions. The 0.5x is what happens when the team accepts the AI's first draft and spends the next two weeks discovering it does not match how anyone actually talks.
To try this workflow inside a real product, create a free RecruitIn workspace — the job-post editor has section-by-section AI rewriting built in, two enhancements per day on the free tier. To plan when to upgrade to the higher AI limit, read free ATS vs paid ATS. And if you are still picking which ATS to use, start with the buyer's guide to free and affordable ATS. Pricing details on the pricing page.